UKAS Accredited Certificates
 As a UKAS accredited calibration Laboratory No. 0256, Norbar is required to calibrate torque measuring devices that are within the Laboratory’s scope, in accordance with BS 7882:2017. The laboratory is accredited for torques between 0.005 N·m and 108,500 N·m.. See the 'UKAS Schedule of Accreditation'. Norbar can provide a comprehensive range of calibrations including increasing and decreasing torques; clockwise and counter-clockwise; in either SI or Imperial torque units, or in mV/V or Volts. The sections below summarise the main features of BS 7882:2017, but purchase and careful study of the standard is advised for those who wish more detailed information.
- The “device” is defined as all parts of a system, e.g. Display, Transducer Cable, and Transducer. Transducer cables will therefore be serial numbered if they are separate items.
- The output of the device is defined as "deflection".
- It is preferable to calibrate all parts of a system together. If a transducer is sent for calibration without its normal display unit, an equivalent calibrated display held in the laboratory will be used. The normal display must also be in a calibrated state or the certification for the transducer is invalidated.
- Norbar is currently the only laboratory accredited for UKAS for the calibration of Electrical Torque Measuring Indicators.
- Before any calibration or recalibration the torque measuring device is preloaded three times in succession to the maximum applied torque of the device. Each preload is maintained for between 1 and 1 1/2 minutes to exercise the device and stabilise it in the calibration fixture.
- The device is calibrated with at least five approximately equal steps from 20% to 100% of maximum torque. Lower values are allowed as long as they meet certain criteria for resolution.
- For Classes 0.05 and 0.1, it is mandatory to calibrate the torque measuring device in four different mounting positions each rotated 90º about the measurement axis. For all other classes the device is calibrated at a minimum of two different mounting position at least 90º apart.
- Two series of readings are taken, and the device is then disturbed, generally by being disconnected from the calibration fixture and rotated through 90º. The device is then preloaded once to full scale. A third series of readings are then taken. This process is repeated until readings have been recorded in all required orientations.
- If reversibility is required, a single series of decreasing torques are applied at the end of the last increasing series.
- Should calibration be required in both directions, the series of readings are repeated in the opposite direction.
- The calibration data is then analysed to establish the following parameters.
Repeatability
The variation between the indicated deflection from series 1 and 2, expressed as a percentage of the mean of the two readings.
Reproducibility
The maximum variation between series 1, 2 and 3, or series 1, 2, 3, 4 and 5 expressed as a percentage of the mean indicated deflection calculated from series 1, 3 or series 1, 3, 4 and 5.
Error of Indication
Where the results are expressed in units of torque, the errors of indications are the variation between each reading and the average reading of all three series at that torque.
Error of Zero Torque
The maximum zero reading recorded after each loading series is expressed as a percentage of the maximum mean indicated deflection.
Error of Interpolation
Where the results are expressed in volts or units other than torque units, a 2nd order polynomial (best fit line) is established and the difference in deflection from the computed value is expressed as a percentage of the computed value.
Reversibility
The variation between the readings from the last torque series applied in an increasing mode and the readings for the same given torque applied in a decreasing mode. Reversibility is expressed as a percentage of the deflection of the last increasing series for the given torque.
Classification
- The parameters are each compared with a table to establish the device's classification. Class 0.05 is the highest performance, and class 5 is the lowest defined by the standard. The overall class reported will be that of the lowest performing parameter. For example reproducibility may be class 1 when all other parameters meet class 0.5. The device will be classified as 1.
- Additionally the uncertainty of applied torque must be five times better than the overall class reported. Norbar's uncertainty of measurement (typically 0.02%) allows classification to Class 0.1 devices.
- Different classes may be quoted for ranges below 20% of maximum capacity.
 |
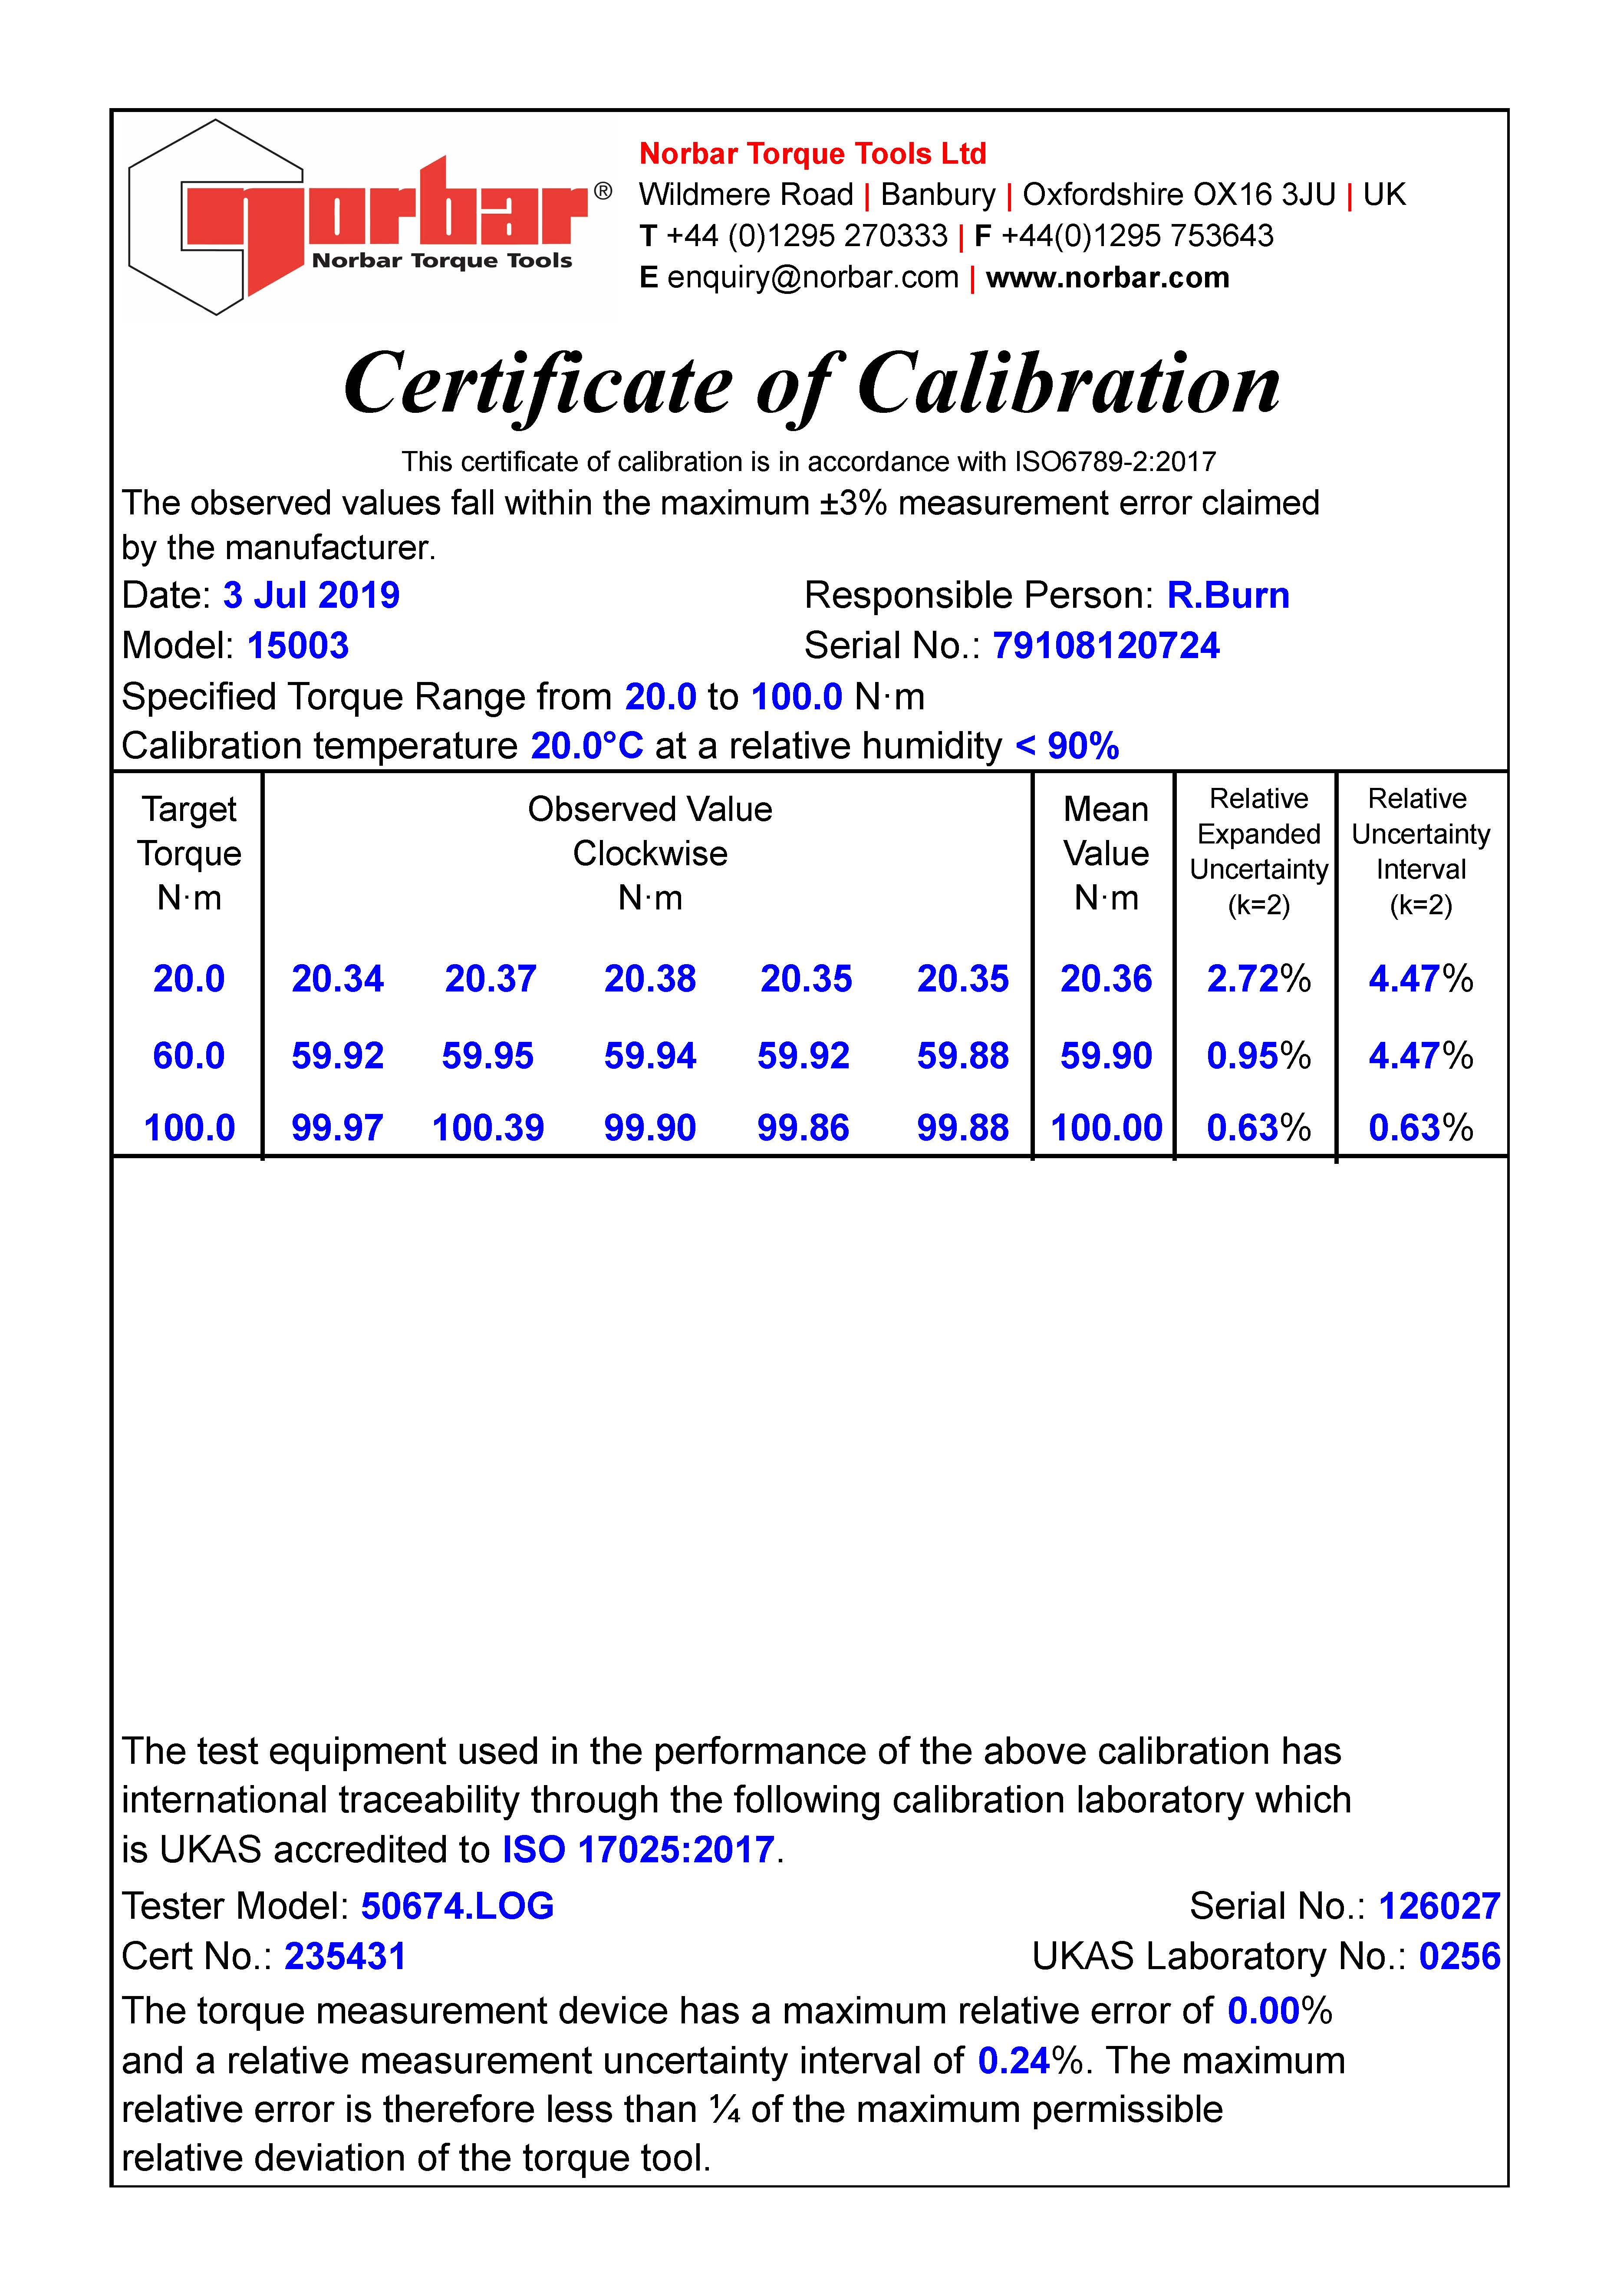
- Traceable Calibration according to ISO6789:2017 clauses.
- Complies with ISO 10012, for use in ISO 9001 quality systems.
|
 |
- Air Pressure Graph shows required air pressure vs torque.
- Pressure and torque both measured on traceable equipment.
|